






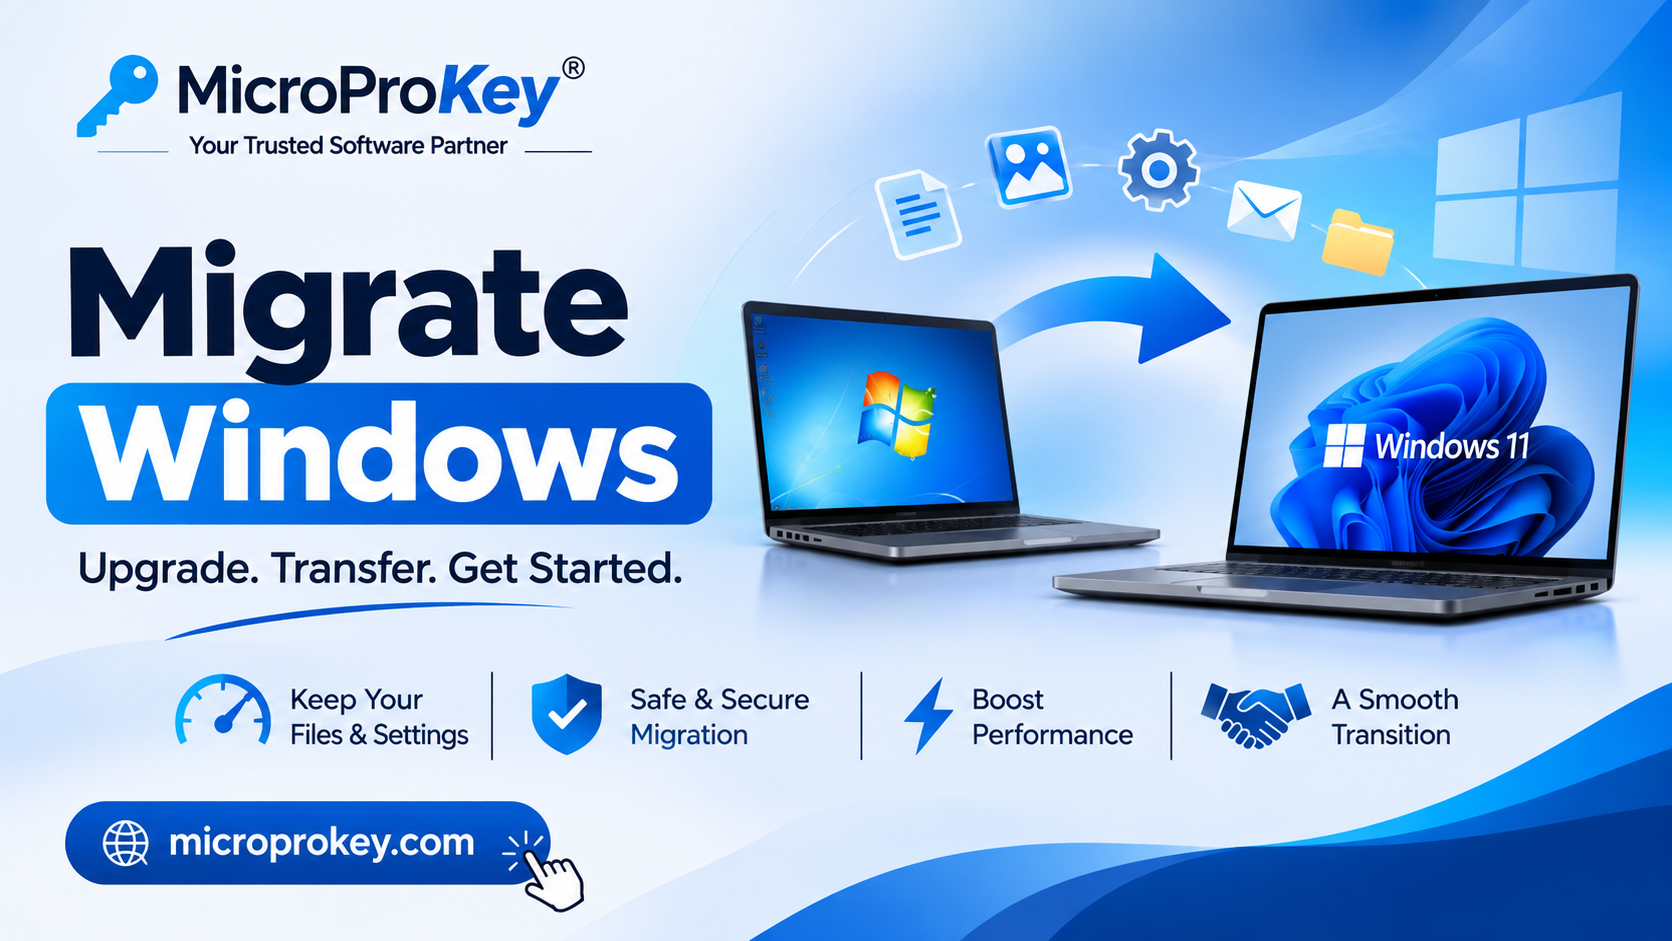
Imagine this: You just bought a brand-new, blazing-fast SSD. You are excited. You want to migrate Windows to it immediately. But then, fear sets in. You remember the last time you reinstalled Windows. It took hours to download updates. It took days to reinstall your favorite programs. You lost your browser bookmarks and your custom settings. You do not want to go through that pain again.
You just want to migrate Windows smoothly and keep everything exactly as it is. The good news is that you do not have to start from scratch. You can migrate without losing your mind or your data. This guide will show you exactly how to do it.
We will walk through safe, proven methods to migrate Windows to new hardware or a new drive. You will learn how to move your operating system, your files, and your settings without a single reinstall. Let us begin the journey to a faster PC without the headache.
Why You Should Migrate Instead of Reinstalling
Reinstalling Windows is a chore. You must find all your drivers. You must re-download your games and apps. You must reset every single preference. However, when you migrate correctly, you skip all of that. You keep your exact desktop layout. You keep your saved passwords. You keep your program configurations. This saves you hours of work. Furthermore, it reduces the risk of losing important files. Many users migrate Windows to upgrade to a larger hard drive. Others migrate Windows to move to a completely new computer. In both cases, the goal is the same. You want to keep your digital life intact. Therefore, learning to migrate is a skill that pays off immediately. It turns a weekend project into a thirty-minute task.
Method 1: Clone Your Drive to Migrate Windows
The most direct way to migrate Windows is to clone your existing drive. Cloning makes an exact byte-for-byte copy of your old disk. You need a third-party tool for this step. Popular options include Macrium Reflect and EaseUS Todo Backup . First, connect your new SSD to your PC. You can use a USB adapter or an internal SATA cable. Next, open your cloning software. Select your old drive as the source. Select the new drive as the destination. Then, start the clone process.
This process can take twenty minutes or several hours. It depends on how much data you have. After the clone finishes, shut down your PC. Swap the old drive for the new one. Finally, boot your computer. If it starts normally, you have successfully used cloning to migrate . This method is perfect for a simple drive upgrade.
Method 2: Use Sysprep to Migrate Windows to New Hardware
Sometimes you need to migrate to a completely different computer. Cloning often fails here because of driver conflicts. In this case, you should use a built-in tool called Sysprep. Sysprep generalizes your installation. It removes unique hardware IDs and prepares Windows for a new home .
Here is how you migrate with Sysprep. First, open the Run dialog by pressing Windows + R. Type sysprep and press Enter. A folder opens. Double-click the Sysprep application. Check the box labeled “Generalize”. Choose “Out-of-Box Experience (OOBE)”. Select “Shutdown” as the option. Click OK.
Your computer will run a process and then shut down. Now, move your hard drive to the new computer. When you boot it up, Windows will ask you to set up a new user. You have effectively used Sysprep to migrate Windows across different hardware .
Method 3: Use Windows Backup to Migrate Windows Settings
Maybe you already have a fresh Windows install on a new PC. You still want to migrate Windows settings and files from your old machine. Microsoft offers a built-in tool called Windows Backup. This tool helps you migrate preferences without moving the whole OS. First, sign into your old PC with a Microsoft account. Open the Windows Backup app from the Start menu . Turn on the switches for your folders. You can back up your Desktop, Documents, and Pictures. You can also back up your installed apps list and Wi-Fi passwords. Click the “Back up” button. Now, go to your new PC. Sign in with the same Microsoft account during setup. Windows will ask if you want to restore from a backup. Choose your old PC from the list. Your files and settings will download. This is a smart way to migrate personal data without touching system files.
Use OneDrive to Migrate Windows Files
Files are the most important part of your digital life. You can migrate Windows files easily with OneDrive. This method does not move the operating system. However, it is the safest way to migrate Windows documents and photos. First, make sure you have enough OneDrive storage. The free tier gives you 5 GB . If you have more data, you may need a subscription. Open File Explorer on your old PC. Move your important folders into your OneDrive folder. Wait for the sync icon to turn green. This means your files are in the cloud. Now, go to your new computer. Sign into OneDrive with the same account. Your files will appear as if by magic. You have just used the cloud to migrate data. This method is perfect for users who want a clean OS but still need their old files.
Preparing Your PC Before You Windows
Preparation is key when you migrate Windows. You must protect your data first. Before any migration, back up your critical files to an external drive. This is your safety net. Next, clean up your old drive. Delete temporary files and old downloads. This makes the cloning process faster. Furthermore, update your current Windows installation. Install all pending updates. This ensures the version you migrate Windows to is stable. Check your license status. A digital license links to your Microsoft account.
If you migrate Windows to a new PC, you may need to transfer that license . Finally, note down your important passwords. While cloning keeps everything, a manual migrate process might lose some credentials. Taking these steps ensures a smooth journey.
Common Problems When You Migrate Windows
Sometimes things go wrong when you migrate Windows. Do not panic. Most issues are fixable. One common problem is a boot failure after cloning. Your PC might say “No bootable device found”. This happens because the BIOS boot order is wrong. Restart your PC and enter the BIOS. Change the boot priority to your new drive. Another issue is driver conflict on new hardware. If you migrate Windows to a new motherboard, Windows might crash on startup. This is why Sysprep is important .
It solves this issue. A third problem is activation failure. Windows may say your license is not genuine. This happens if you migrate Windows to a new PC with an OEM license. Retail licenses transfer easily. OEM licenses are tied to the first motherboard. Check your license type before you migrate Windows to avoid frustration.
Why Microprokey Helps You Migrate Windows Safely
Sometimes you need a reliable partner to help you migrate Windows. Microprokey offers tools and solutions for system migration. Microprokey provides recovery and activation support. If you migrate Windows to a new PC and face an activation error, Microprokey can help. They understand the frustration of a failed migration. Their solutions help you get your system running again.
Many users trust Microprokey because they focus on stability. When you migrate you want a smooth transition. Microprokey ensures your new setup works without hiccups. Do not let a license issue stop you. Use Microprokey to finish your migration with confidence. Visit Microprokey to learn more about their recovery and migration support options.
Step-by-Step Checklist to Migrate Windows
Follow this simple checklist to migrate Windows successfully. First, back up your data. Second, choose your migration method. Cloning is best for new drives. Sysprep is best for new PCs. Third, download the necessary tools. For cloning, get Macrium Reflect. For Sysprep, use the built-in tool. Fourth, connect your new hardware. Fifth, run your chosen tool. Sixth, verify the boot process. Seventh, check your files and programs. Eighth, reactivate Windows if needed. This checklist helps you migrate Windows without missing a step. Remember to take your time. Rushing leads to mistakes. If you follow this list, you will migrate Windows like a professional. Keep this list handy during the process.
Frequently Asked Questions (FAQ’s)
Q1: Can I migrate Windows to a new SSD for free?
Yes. You can use free software like Macrium Reflect Free. It lets you clone your drive without paying. However, you must have a way to connect both drives at the same time .
Q2: Will I lose my programs when I migrate Windows?
If you clone your drive, you keep all programs. If you use Sysprep, you also keep programs. However, if you move to a new PC with different hardware, some apps may need reinstallation .
Q3: Do I need to reinstall Windows after cloning?
No. Cloning copies the entire operating system. Your new drive is ready to boot immediately. You do not need to reinstall anything .
Q4: How long does it take to migrate Windows?
It depends on your data size. Cloning a 500 GB drive with 200 GB used can take about thirty to sixty minutes. A full terabyte can take a few hours. Using a USB 3.0 cable speeds up the process.
Final Thoughts
To sum up, you do not have to reinstall Windows ever again. You have several safe options to migrate Windows today. Cloning is fast and perfect for a simple SSD upgrade. Sysprep is powerful for moving to a new computer with different hardware. Windows Backup and OneDrive are great for moving files and settings to a fresh install. The key is preparation. Always back up your data before you migrate Windows. Always check your license type. And always use a trusted tool like Microprokey if you need help with activation or recovery. You deserve a faster PC without the pain of a clean install. Now you have the knowledge to migrate Windows successfully. Take the leap. Your files and settings will follow you to your new hardware. Enjoy your upgraded computer, and leave the reinstalling behind for good.