


Windows 11 Pro is packed with new features and benefits that enhance your productivity and security. If you’re considering upgrading to this powerful operating system, here’s a step-by-step guide to help you through the process.
Why Upgrade to Windows 11 Pro?
Upgrading to Windows 11 Pro brings a host of new features designed to improve your overall experience. Some of the standout features include:
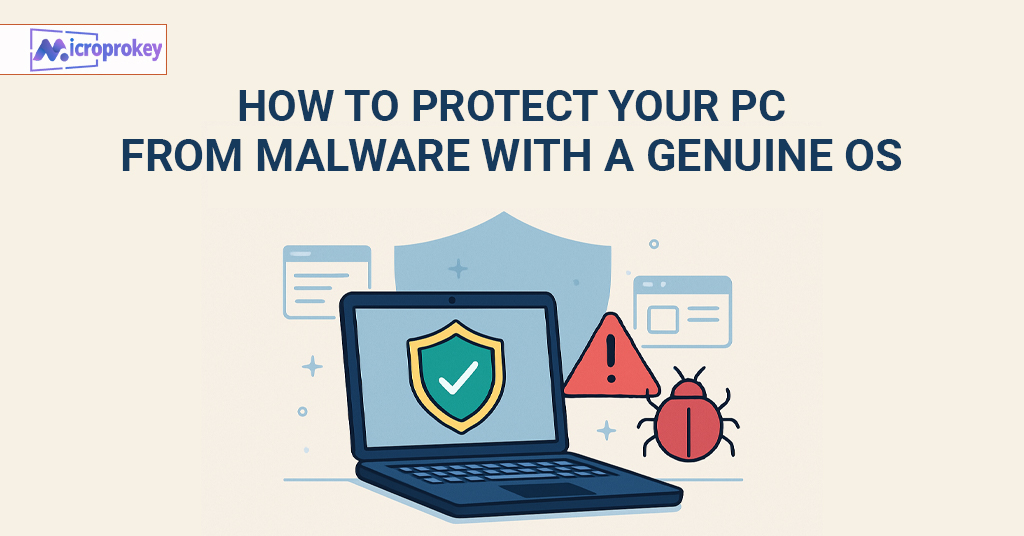
– Enhanced Security: With Windows 11 Pro, you get advanced security features like BitLocker device encryption and Windows Information Protection.
– Improved Performance: Experience faster boot times and smoother operation with Windows 11 Pro’s optimized performance.
– Productivity Tools: Access to tools like Virtual Desktops, Snap Layouts, and Snap Groups to streamline your workflow.
Understanding Windows 11 Pro System Requirements
Before upgrading, ensure your PC meets the Windows 11 Pro system requirements. These include:
– Processor: 1 gigahertz (GHz) or faster with at least 2 cores on a compatible 64-bit processor.
– RAM: 4GB or more.
– Storage: 64GB or larger storage device.
– System Firmware: UEFI, Secure Boot capable.
– TPM: Trusted Platform Module (TPM) version 2.0.
– Graphics Card: DirectX 12 compatible graphics / WDDM 2.x.
– Display: >9” with HD Resolution (720p).
– Internet Connection: Internet connectivity is necessary to perform updates and to download and take advantage of some features.
Steps to Upgrade to Windows 11 Pro
- Check Compatibility: Use the PC Health Check app to see if your device meets the requirements for Windows 11 Pro.
- Backup Your Data: Ensure you back up all your important files and data to prevent any loss during the upgrade process.
- Purchase Windows 11 Pro: If you don’t already have a license, you’ll need to purchase one. This can be done through the Microsoft Store or other authorized retailers.
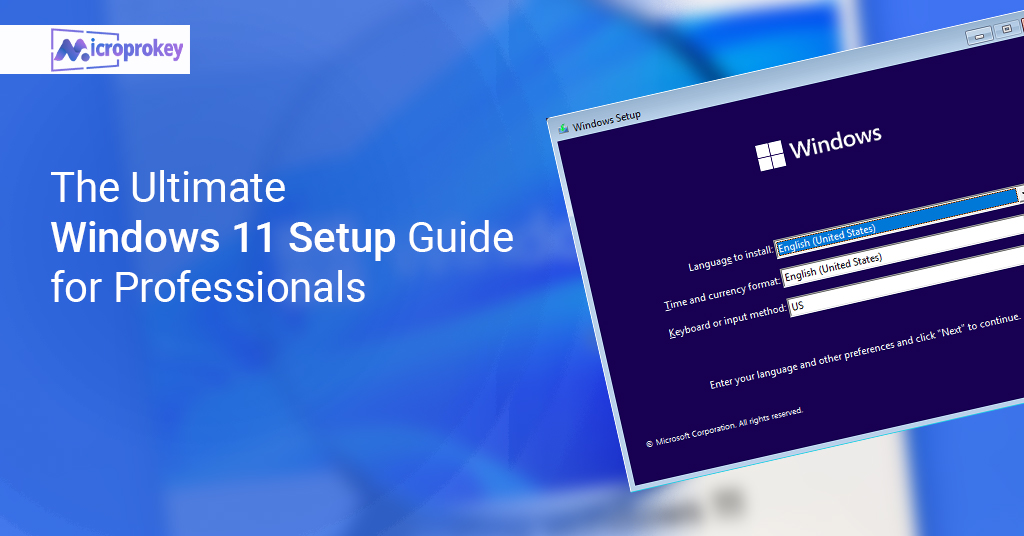
- Download the Installation Assistant: Go to the [Microsoft website](https://www.microsoft.com) and download the Windows 11 Installation Assistant.
- Run the Installation Assistant: Follow the on-screen instructions to begin the installation process. This may take some time, so ensure your device is plugged in and you have a stable internet connection.
- Complete the Installation: Once the installation is complete, you’ll need to restart your device. Follow the prompts to finalize the setup.
Windows 11 Pro Performance and Benefits
Performance: Windows 11 Pro is designed to offer superior performance compared to previous versions. It includes improvements in speed and efficiency, making multitasking more seamless. With better resource management, applications run more smoothly, and system responsiveness is enhanced.
Benefits:
– Security Enhancements: Enjoy peace of mind with advanced security features protecting your data.
– Business Tools: Access to features like Group Policy management, which is essential for business environments.
– Remote Work Capabilities: Enhanced support for remote desktop and virtualization features make it easier to work from anywhere.
Upgrading to Windows 11 Pro not only enhances your device’s performance but also provides a host of new features that boost productivity and security. Follow this guide to ensure a smooth transition to Windows 11 Pro and start enjoying its benefits today!